Door Alignment & Latch Binding Adjustments
When an internal door refuses to click into its strike pocket or scrapes across flooring, amateur handymen reach for a hand plane. Learn why hinge leverage and screw bite should always be adjusted first.
The Hinge Leverage Equilibrium
A standard 35mm thick interior timber door weighs between 18 and 35 kilograms. That entire gravitational mass is suspended from two or three hinge leaves mortised into a softwood door jamb. Because the center of gravity hangs approximately 400mm away from the vertical hinge pivot axis, the top hinge is placed under extreme continuous tension (pulling away from the frame), while the bottom hinge experiences pure compression (pushing into the frame).
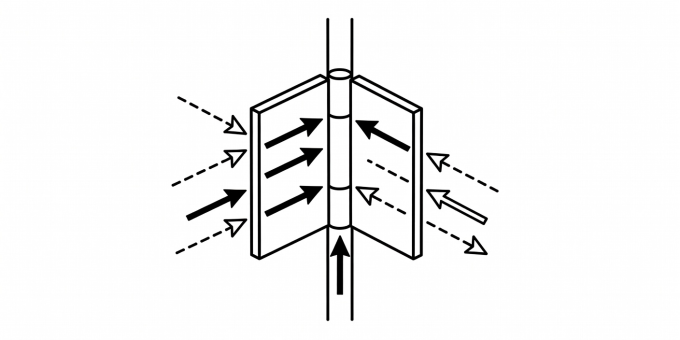
Over five to ten years of seasonal humidity cycles, standard 25mm factory screws loosen inside the jamb wood fibers. As the top hinge tilts forward by merely 1.5 millimeters, the opposite top strike corner of the door drops by nearly 6 millimeters due to angular multiplication. The door then binds against the strike jamb and scrapes the carpet.
“Never plane down the top edge of a sagging door until you have restored hinge verticality. Planing permanently destroys the door squareness and guarantees it will never latch once re-hung.”
— Workshop Joinery Ledger, Pickle Parade PopixThree Non-Destructive Door Adjustments
-
The 3-Inch Structural Stud Anchor
Remove the single center screw from the top hinge leaf on the jamb side. Inspect its length: it is likely a 25mm (#7) screw that penetrates only the decorative 18mm door casing. Replace it with a 75mm (3-inch) hardened wood screw driven straight into the structural 2x4 framing stud behind the jamb. This draws the sagging hinge leaf tight to the wall framing, lifting the bottom latch corner instantly by 3–5mm.
-
Stripped Screw Hole Dowel Splice
If screws spin freely without gripping, remove the hinge leaf. Drill out the stripped screw hole to 8mm diameter. Coat an 8mm birch or beech hardwood dowel in polyvinyl acetate (PVA) wood glue and tap it flush into the hole. Allow 60 minutes to cure, pre-drill a 2.5mm pilot hole, and drive a fresh brass screw into dense virgin wood grain.
-
Cardboard / Copper Hinge Shimming
If the gap along the hinge side is uneven, loosen the screws of the bottom hinge and slip a 1mm heavy cardstock or brass shim behind the inner half of the hinge leaf. Tighten screws down. This acts as a fulcrum, tilting the door head away from the upper strike jamb without cutting into wood.
Diagnosing Latch Strike Misalignment
If the door closes smoothly but the spring latch bolt refuses to drop into the strike plate aperture, perform the lipstick or dry-erase test:
Rub a generous layer of dry-erase marker or wax crayon onto the rounded face of the spring latch. Close the door firmly against the stop bead twice, then open it. Examine the brass strike plate on the frame: the colored smear reveals whether the latch is striking too high, too low, or binding against the dust box lip.
If the latch strikes within 2 millimeters of the plate hole, do not chisel out the entire frame mortise. Secure a flat metal bastard file and file down the bottom or top lip of the brass strike plate until the latch pops smoothly into position.